Mastering Build Mode in The Sims 4 is one of the most rewarding aspects of the game, transforming simple boxy houses into breathtaking architectural masterpieces. While walls, roofs, and decor play a massive role in your build’s aesthetic, staircases dictate the overall flow, layout, and realism of your homes. Whether you want to design a grand double-flight staircase for a Victorian mansion, an industrial floating stairwell for a modern loft, or a snug split-level entryway, this ultimate Sims 4 stairs building guide will walk you through every step, technique, and hidden tool you need to know.
For years, Simmers were locked into straight, rigid staircases that took up massive amounts of floor space. However, thanks to major base game updates and dynamic building features like platforms and customizable stair widgets, the options are practically limitless. In this comprehensive manual, we will break down basic placement controls, deep-dive into advanced stair manipulation, detail how to build complex L-shaped and U-shaped configurations, and troubleshoot those frustrating error messages that pop up in Build Mode.
Basics of Placing and Rotating Stairs in The Sims 4
Before jumping into complex multi-turn staircases, it is essential to understand the foundational mechanics of placing stairs in Build Mode. Stairs in The Sims 4 automatically snap to foundation edges, floor tiles, and platforms, adjusting their total height dynamically based on the wall height of the room below. If you change your room from short walls to medium or tall walls, any placed staircase will automatically stretch or compress to connect the lower floor to the upper landing seamlessly.
To select a staircase, open Build Mode, click on the stair icon on the interactive house diagram, and select your preferred style from the catalog. You will find everything from simple wooden steps to ornate stone, sleek glass, and rustic metal designs. Once selected, hovering your cursor over your build will display a preview grid of the stairs.
Keyboard Controls and How to Rotate Stairs
Positioning your staircase correctly requires knowing how to rotate stairs Sims 4 builders rely on during quick layouts. When holding a staircase on your cursor, you can rotate it using several quick shortcuts:
- Comma (,) and Period (.) Keys: Pressing these keys while holding a stair piece will rotate the staircase counter-clockwise or clockwise in 90-degree increments.
- Right-Clicking: Clicking the right mouse button while hovering over the build grid will instantly rotate the staircase 90 degrees clockwise.
- Single-Tile Precision Controls: If you are using Sims 3 Camera mode (which can be toggled in the top-right menu or by pressing Control + Shift + C), holding the Alt key allows for smoother object placement, though stairs will always snap to the nearest floor grid or wall edge to maintain proper Sim routing.
Dragging and Widening Staircases
Standard staircases spawn at a default width of one grid tile. However, one-tile stairs often look narrow or out of place in grand entryways or outdoor porch areas. To widen a staircase, select the placed stair unit in Build Mode. You will notice small tile adjustment arrows appearing on the left and right edges of the stairs.
Click and drag these side arrows outward to expand the staircase to two, three, or even more tiles wide. Widening stairs affects the railings and treads equally, allowing you to create sweeping entry points for estates or broad deck steps that span the full width of an outdoor patio. If you wish to narrow the stairs back down, simply drag the side arrows inward toward the center.
How to Use the Stair Configuration Tool for Custom Shapes
The introduction of the dynamic Sims 4 stair configuration tool completely revolutionized floor plan design for Simmers. Prior to this patch, creating an L-shaped or U-shaped stair required tricky workarounds using split-level terrain hacks or room manipulation. Now, every single-flight staircase in the catalog comes built-in with manipulation widgets that allow you to bend, turn, and shape stairs on the fly.
When you place or select any staircase on your lot, a small, white box widget containing two curved arrows will appear directly along the center line of the steps. This widget is your primary tool for creating turns and custom landings.
Understanding the Stair Widget Handles
To use the configuration tool effectively, you need to understand what each visual icon on the staircase interface controls:
- The Center Turn Handle (Curved Arrows Icon): Clicking and dragging this white widget allows you to create a bend in the staircase. Pulling it to the left or right turns the stairs 90 degrees, creating an L-shape. Pulling it 180 degrees back toward the origin creates a U-shape.
- The Height Adjuster (Top/Bottom Drag Boxes): Sliding the center widget up or down along the flight changes the exact step where the landing occurs. Moving it higher creates a long bottom flight with a short top section, while sliding it lower creates a short bottom step landing into a long upper flight.
- The Landing Length Drag Handle: Once a turn has been created, additional arrows appear on the new landing segment, allowing you to stretch the intermediate landing across multiple grid tiles.
By experimenting with these widgets, you can craft intricate zigzag staircases, winding staircase towers, and multi-turn stairwells that perfectly fit into tight corner spaces or sprawling hallway designs.
Creating L-Shaped and U-Shaped Staircases Step-by-Step
Building custom staircase configurations gives your homes a professional, architect-designed feel. If you are looking to update an existing floor plan, follow this detailed Sims 4 L shaped stairs tutorial and step-by-step U-shape guide to execute perfect turns every time.
Step-by-Step: Crafting an L-Shaped Staircase
- Place a Standard Straight Staircase: Select your desired stair style from the Build Mode catalog and snap it from the lower floor to the upper floor where you want the top landing to end up.
- Select the Stairs: Click on the placed staircase so the green highlight border and white tool handles appear.
- Grab the Turn Tool: Hover your mouse over the middle white widget (the box with the curved arrows). Click and hold the left mouse button.
- Drag 90 Degrees: Pull your cursor to the left or right depending on which direction you want the lower section of the stairs to face. The staircase will automatically snap into a crisp 90-degree turn with a flat corner landing.
- Adjust Landing Elevation: Click and drag the white box up or down the stair shaft to determine how high up the wall the turn occurs. For a standard corner staircase, placing the landing near the middle of the wall height creates a balanced visual look.
Step-by-Step: Crafting a U-Shaped Staircase
- Position the Straight Flight: Begin by placing a straight staircase in a room with at least a 3×3 or 3×4 tile footprint to accommodate the return flight.
- Initiate the First Bend: Grab the turn handle on the center of the stairs and pull it 90 degrees to create an intermediate landing.
- Pull the Handle 180 Degrees: Without releasing the mouse button (or by grabbing a second turn handle that appears on the new flight), continue dragging the directional controls until the bottom flight points in the opposite direction of the top flight.
- Extend the Intermediate Landing: If you want space between the upward and downward flights, grab the middle landing arrow and pull it outward by one or two tiles. This creates an open center well, perfect for hanging long chandeliers or placing tall indoor plants.
For more architectural tips on designing complex home layouts, check out our guide on designing multi-story luxury floor plans in The Sims 4.
Integrating Stairs with Platforms and Split-Level Foundations
Platforms brought a whole new layer of depth to Build Mode, allowing players to adjust floor heights on a single story without needing separate foundation settings. However, combining stairs with custom platforms can sometimes feel confusing due to how the game handles snap points and level transitions.
When building platform stairs Sims 4 engine rules dictate that stairs treat platform edges as elevated structural boundaries. This means you can snap short staircase pieces directly onto platforms to create sunken living rooms, elevated split-level stages, or grand entry steps.
Creating Sunken Living Rooms and Elevated Stages
Sunken areas are a staple of modern and retro mid-century modern designs. To create a sunken living room connected by seamless steps:
- Draw a full room using the Wall tool.
- Use the Platform Tool to raise the floor surrounding your intended sunken pit, or place a platform inside the room and click the down arrow on the platform height controller to lower a specific section.
- Select a simple, borderless stair style from the catalog.
- Hover the stair piece over the edge where the main room floor meets the lowered sunken platform. The game will automatically generate a short 1-step to 4-step stair unit depending on the height difference.
- Widen the short steps using the side drag handles across the entire width of the sunken pit to create a seamless transition.
Because these short platform steps bridge very minor height differences, Sims will naturally walk up and down them without interrupting their route or dropping queued actions. You can even remove stair railings entirely on short platform stairs to maintain an open, modern architectural feel.
For additional details on mastering dynamic floor heights, read our complete tutorial on how to build custom platforms and split levels in The Sims 4.
How to Build Open-Underneath and Basement Stairs
By default, when you place a staircase against a wall or in the middle of a room, the game fills the space directly underneath the steps with an opaque solid wall or decorative side spandrel. While this works great for enclosed stair closets, it can make small floor plans feel cramped and cut off natural lighting throughout the ground floor.
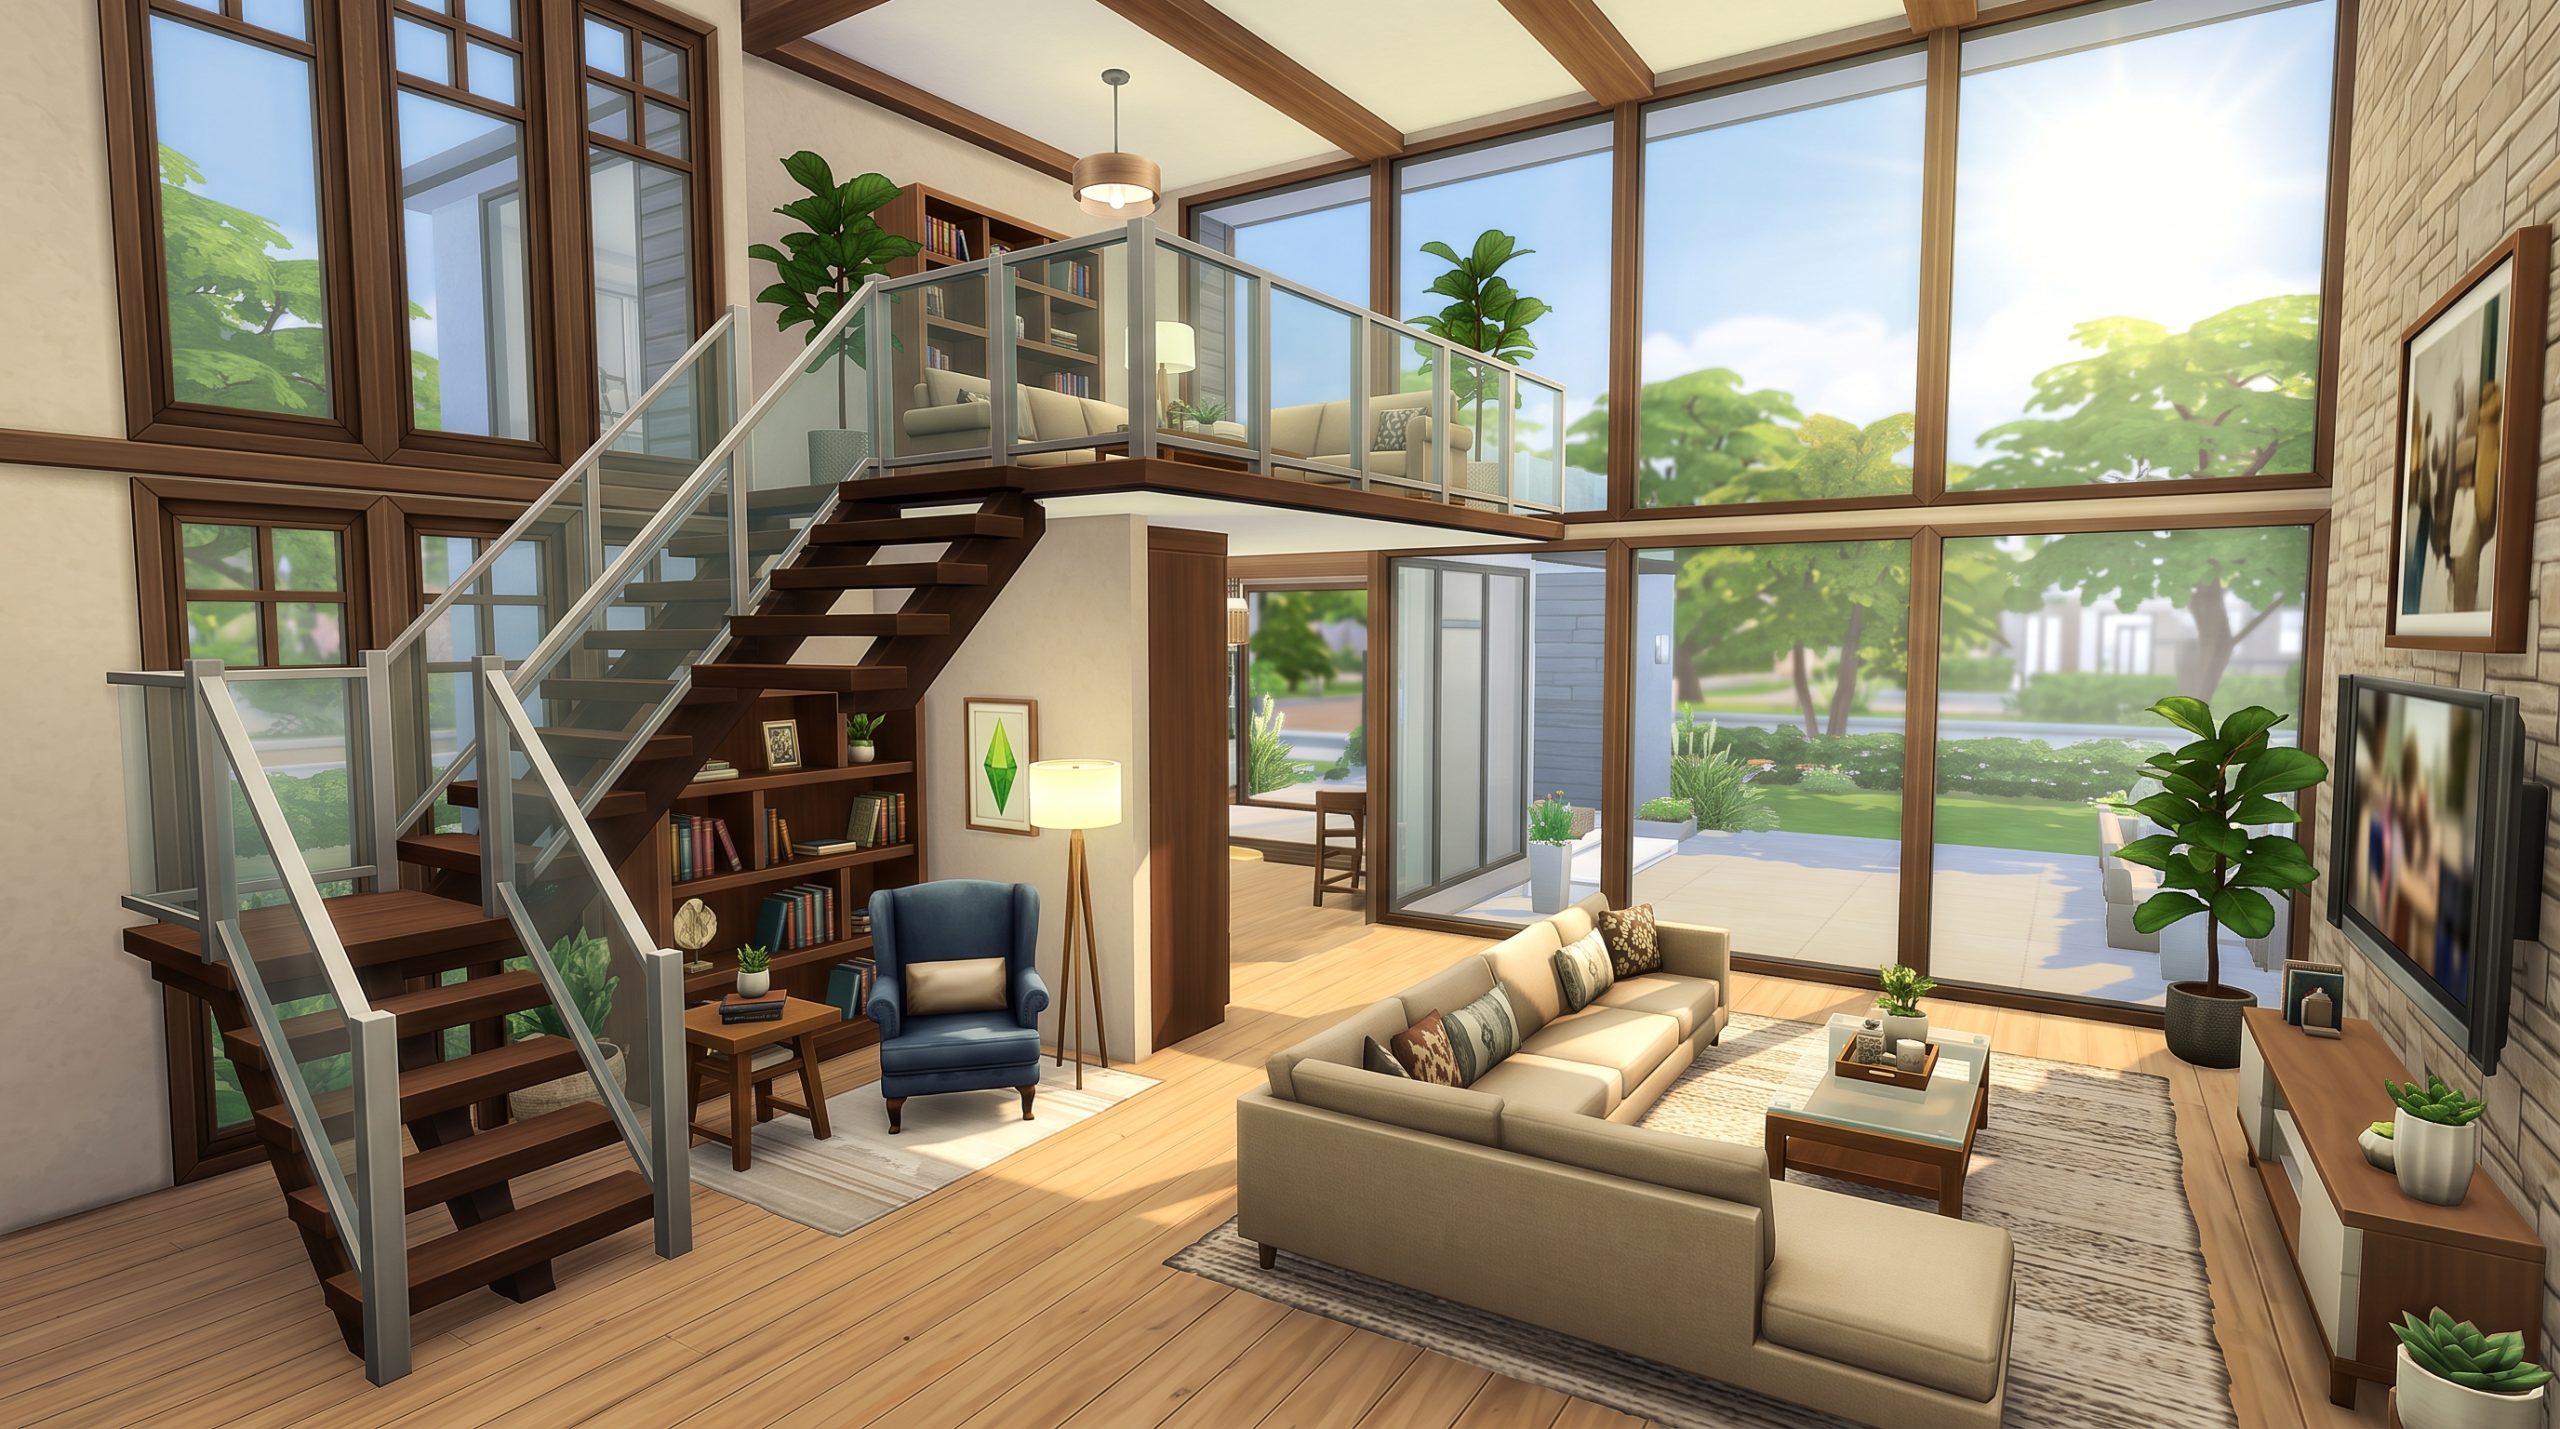
Creating open-underneath staircases opens up sightlines, allowing light from windows to flood the room while providing functional space below the steps for furniture placement.
Removing Under-Stair Walls and Spandrels
To strip away the default solid walls that automatically generate underneath your staircase, follow these simple building adjustments:
- Toggle Stair Walls Off: Select the placed staircase in Build Mode. Look at the context menu pop-up that appears near the base of the stairs. Click on the icon labeled “Remove Walls Under Stairs.” The game will instantly clear out the solid geometry, leaving an open frame.
- Change Stair Trim and Banisters: Navigate to the Stair Trim tab in Build Mode. Selecting minimal trims or setting the trim color to match your flooring helps create a lightweight floating stair appearance.
- Utilizing Open-Riser Styles: Choose stair styles from the catalog that feature open risers (gaps between each tread). Styles like industrial metal escape steps, minimalist wooden planks, or glass treads allow your room to maintain an airy atmosphere.
As covered in this detailed Sims 4 stairs building guide, opening up the space below your steps isn’t just about visuals—it actively frees up grid space for decoration.
Utilizing the Space Under Open Staircases
Once you have removed the walls under your staircase, you can place functional items in the newly freed floor grid. Sims can walk under higher sections of open staircases where head clearance is sufficient.
Great design ideas for under-stair spaces include:
- Cozy Reading Nooks: Place a small loveseat or armchair, an end table, and a wall lamp under the upper half of the flight.
- Study Spaces: Tuck a small desk, a laptop, and a desk chair under an L-shaped staircase landing.
- Pet Corners: Place a dog bed, cat tree, or feeding bowls neatly out of high-traffic walking corridors.
- Storage Solutions: Stack dressers, decorative plants, shoes, or clutter items under the angle of the steps to give your house a lived-in, cozy feel.
Connecting Stairs to Basements
Adding stairwells that lead down into basements requires paying close attention to floor cutouts and ceiling tiles. When placing stairs leading down to a basement, select the basement level below first, then place your stairs pointing upward toward the ground floor.
Alternatively, placing a staircase on the main ground floor pointing downward will automatically carve out the required floor tiles on the story above the basement. If the basement floor cutout looks jagged or leaves weird gaps, use the custom Room Tool on the basement level to clearly define the stair landing area, or re-draw the floor ceiling trim manually using the platform and floor tile tools.
Troubleshooting Stair Placement Errors and Routing Blocks
Even veteran builders run into frustrating issues when customizing stairs. Messages like “Cannot intersect walls,” “Ceiling too low,” or “Invalid placement” can halt your build progress. Understanding what causes these errors allows you to apply a quick Sims 4 stair placement error fix and keep building without headache.
Here are the most common stair placement issues and how to resolve them rapidly:
1. “Cannot Intersect Walls” Error
This error occurs when the geometry of your staircase—especially when configured into an L or U shape—collides with existing interior walls or roof lines on the upper or lower floor.
- The Fix: Delete the interior walls surrounding the intended staircase area first. Place and configure your entire staircase to its final shape, and then rebuild the walls around the steps afterward. The game is far more forgiving when drawing walls next to existing complex stairs than it is when placing complex stairs inside tight pre-built rooms.
2. “Ceiling Too Low” or Head Space Routing Blocks
If you place a stair turn directly under a low roof pitch or ceiling cutout, your Sims will either get stuck at the turn or refusing to walk up the steps, displaying a pathing icon above their heads.
- The Fix: Ensure there is at least a 2-tile vertical clearance above every single step and landing on your staircase. If your staircase turns near a sloping roof wall, raise the roof pitch or move the stair turn further inward toward the center of the room. Always test your build with a Sim to verify routing clearance.
3. Floor Trims and Cutout Glitches
Sometimes, when dragging stairs or creating custom platform landings, the ceiling hole above the stairs does not generate properly, leaving invisible solid ceiling tiles that block Sims from stepping onto the top floor.
- The Fix: Go to the floor level above the staircase. Click on the room outline surrounding the top stair landing. You will see a yellow line highlighting the floor boundary. Click on the yellow line and select “Remove Floor.” This forcefully creates an open ceiling cutout directly above your stair shaft, instantly restoring routing functionality.
4. Using MoveObjects Cheat Responsibly
When normal placement rules are too restrictive, open the cheat console (`Control + Shift + C`) and type bb.moveobjects on. Press enter. This cheat gives you total freedom to overlap objects, place stairs closer to decorative columns, and tuck furniture snugly under stair shafts.
Warning: Be careful not to block the very top step or very bottom step with clutter items or floor lights while using `bb.moveobjects`, as Sims require clear entrance and exit tiles to initiate their climbing animations smoothly.
If you enjoy using build cheats to push your architectural creativity, be sure to check out our complete master guide on essential Sims 4 Build Mode cheats and shortcuts.
Frequently Asked Questions
How do I create a landing on stairs in The Sims 4?
To create a landing, select any placed straight staircase on your lot. Click and hold the center white box widget (containing curved arrows) that appears along the steps, then drag your mouse 90 degrees or 180 degrees to form a turn. The game will automatically generate a flat landing tile at the point of the bend. You can drag the widget up or down to adjust the landing height or pull the side handles to expand the landing length.
Why does it say ‘Cannot intersect walls’ when placing stairs?
This message occurs because the stair treads, upper landing clearance, or railing boundaries are colliding with an existing wall or diagonal structure. To resolve this, temporary delete the surrounding walls, shape your staircase to your preferred configuration, and then re-draw your walls around the finished stair placement.
How do you drag and widen stairs in Build Mode?
Select the placed staircase in Build Mode to bring up its interaction controls. Hover over the single-headed green/white arrows located on the left and right outer sides of the stairs. Click and drag those arrows outward to widen the flight across multiple grid tiles, or pull them inward to narrow the steps back down.
Can Sims walk under customized staircases?
Yes, Sims can freely walk under open staircases as long as there is enough vertical head clearance. By using the “Remove Walls Under Stairs” toggle on your staircase, you clear out the solid collision blocks beneath the higher steps, allowing Sims to walk, sit, or use objects placed under the upper half of the flight.
Conclusion
Customizing stairwells is one of the most effective ways to break free from basic box-house designs and add distinct personality, flow, and spatial depth to your residential lots. From basic rotational placement to intricate multi-turn configurations and split-level platform integrations, mastering these build controls unlocks endless design possibilities for modern lofts, historic mansions, and cozy suburban family homes alike. Armed with the steps and troubleshooting techniques outlined in this Sims 4 stairs building guide, you can confidently experiment with dynamic layouts, banish common placement errors, and elevate your Sims’ living spaces to brand new heights.