
The Rags to Riches challenge in The Sims 4 is one of the most rewarding ways to experience long-term gameplay. Starting with nothing and slowly building a comfortable life creates strong storytelling moments and makes every upgrade feel meaningful. One of the most important parts of this challenge is how your Sim’s home evolves over time.
In this guide, we explore house progression ideas for the Rags to Riches challenge in The Sims 4, focusing on realistic growth, smart building decisions, and homes that reflect your Sim’s journey from survival to success.
Understanding House Progression in Rags to Riches
House progression is about more than adding new rooms. It’s about telling a story through design.
At the beginning, your Sim’s home should feel temporary and limited. As money and stability grow, the house becomes more structured, comfortable, and expressive.
Key principles of good progression include:
- Gradual upgrades instead of sudden transformations
- Functional improvements first, aesthetics later
- Visible contrast between early and late stages
This approach makes the challenge more immersive and rewarding.
Stage 1: Living with Almost Nothing
At the start of the Rags to Riches challenge, your Sim has very few resources.
Housing Ideas for Stage 1
Early-stage homes often include:
- No walls or a single small room
- Outdoor sleeping arrangements
- Minimal furniture focused on survival
Common setups include open lots with a roofed area or a tiny shack built from the cheapest materials available.
Design Tips for Early Survival
- Use the smallest possible floor plan
- Focus on shelter rather than comfort
- Leave space for future expansion
At this stage, realism matters more than beauty.
Stage 2: The First Real Shelter
Once your Sim earns their first steady income, it’s time to build a basic home.
What to Add First
Prioritize functional upgrades such as:
- Enclosed walls for privacy
- A proper bed
- Indoor bathroom
This stage marks the transition from survival to stability.
Keeping the House Modest
Avoid upgrading everything at once. Keep furniture mismatched and layouts simple to reflect limited funds.
Stage 3: Expanding into a Small Home
With a growing income, your Sim can begin expanding their home into a proper small house.
Layout Ideas
- Separate sleeping and living areas
- Small kitchen space
- Compact bathroom
This stage is where the home starts to feel permanent.
Design Approach
- Stick to affordable materials
- Keep rooms small but functional
- Avoid decorative clutter
The house should still feel like a work in progress.
Stage 4: Adding Comfort and Personality
At this point, your Sim has more freedom to personalize their home.
Meaningful Upgrades
Focus on:
- Better lighting
- Comfortable furniture
- Defined room purposes
This is the stage where personality begins to show through décor choices.
Visual Storytelling
Use design to reflect your Sim’s journey. Early items may remain alongside newer ones, showing gradual improvement rather than a complete reset.
Stage 5: A Fully Functional Family Home
For Sims who start families, the house evolves again.
Family-Oriented Additions
- Extra bedrooms
- Larger kitchen
- Shared living spaces
Layouts become more practical and balanced.
Keeping the Progression Natural
Even with higher income, avoid luxury upgrades too quickly. Keep improvements realistic and earned.
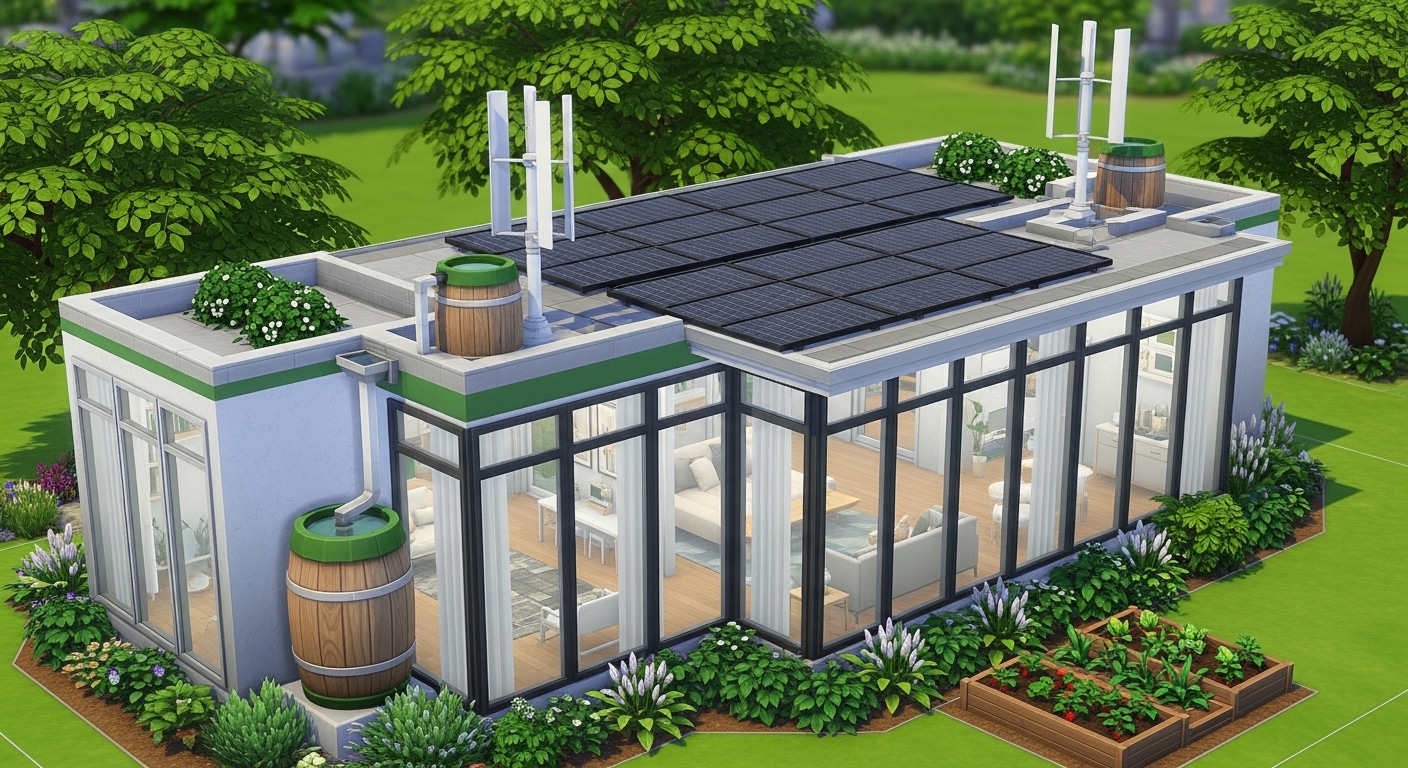
Stage 6: Refinement and Quality Upgrades
With financial stability achieved, your Sim can focus on refining their home.
What to Improve
- Flooring and wall finishes
- Outdoor landscaping
- Storage and organization
This stage emphasizes quality over size.
Maintaining Realism
Upgrade slowly to avoid breaking immersion. Each improvement should feel like a conscious decision.
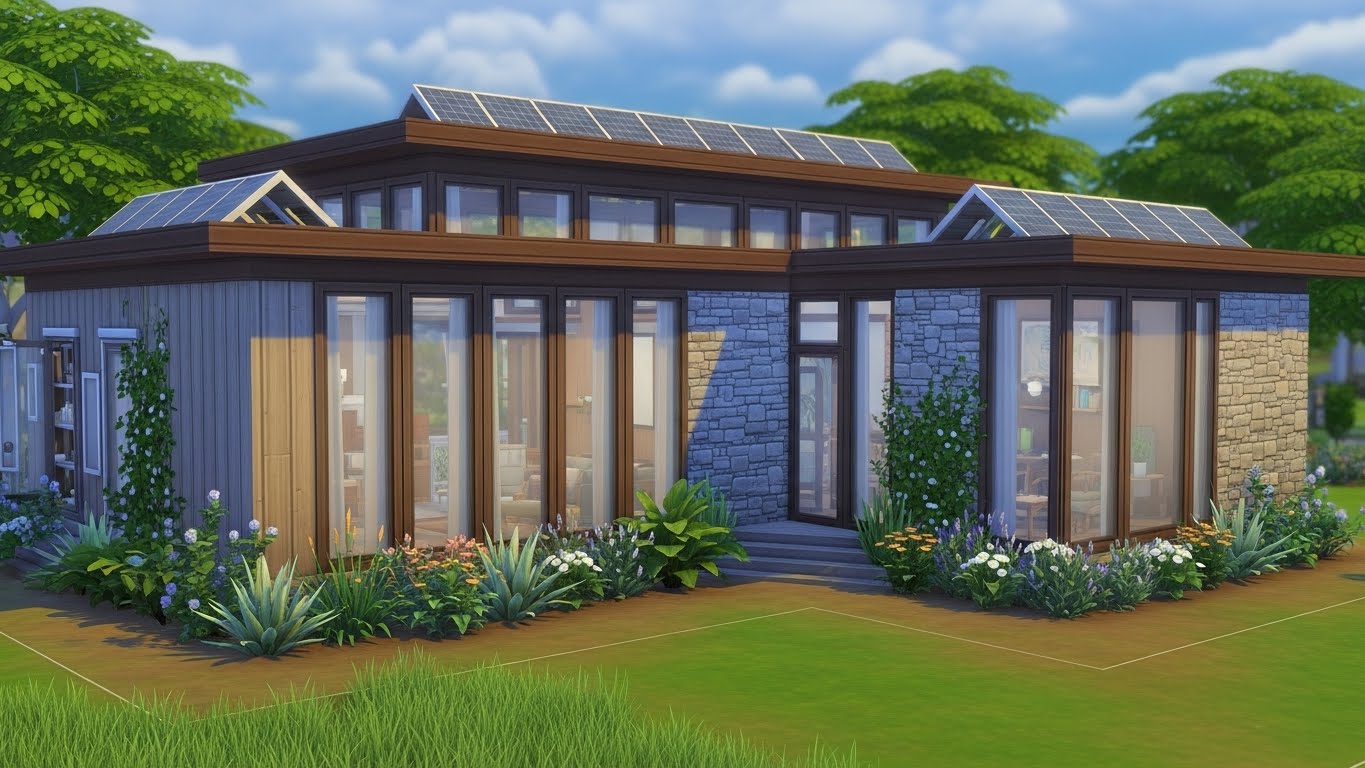
Stage 7: Luxury Without Excess
Reaching the later stages doesn’t mean the home must become extravagant.
Balanced Luxury Ideas
- Spacious but not oversized rooms
- Thoughtful décor instead of clutter
- High-quality furniture used selectively
Luxury should feel earned, not overwhelming.
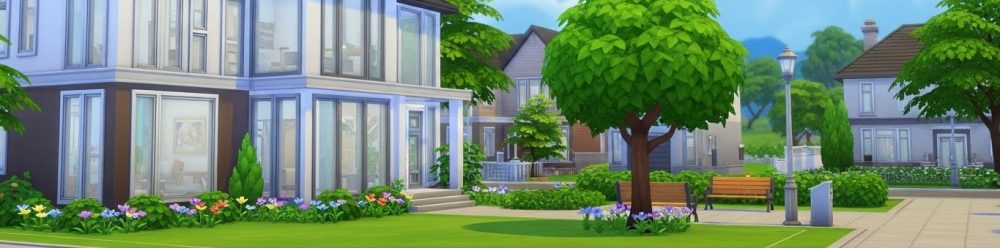
Outdoor Progression Over Time
Outdoor spaces evolve alongside the house.
Early Outdoor Setup
- Bare terrain
- Functional objects only
Later Outdoor Development
- Gardens
- Seating areas
- Decorative landscaping
This progression adds depth to the storytelling.
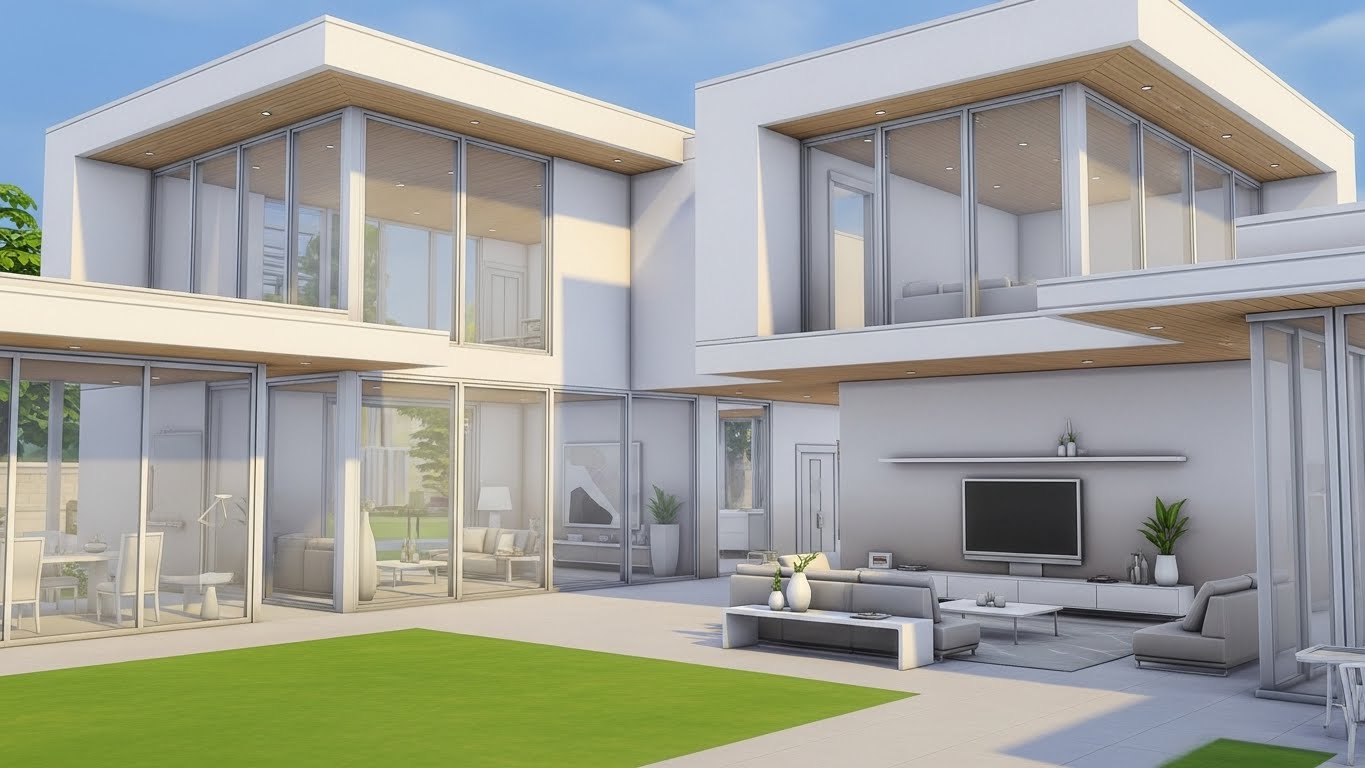
Using Architecture to Show Growth
Architecture can reflect progress without constant rebuilding.
Ideas include:
- Expanding existing rooms
- Adding a second floor later
- Improving roof designs gradually
This creates a clear visual timeline of success.
Common Progression Mistakes to Avoid
Many players unintentionally break immersion.
Avoid:
- Instant luxury upgrades
- Complete house rebuilds too often
- Ignoring early-stage limitations
Consistency is key to a satisfying challenge.
Performance-Friendly Progression Builds
Rags to Riches homes tend to be performance-friendly due to gradual growth.
Benefits include:
- Fewer objects early on
- Simple layouts
- Controlled expansion
This is especially helpful for long saves.
Adapting Progression to Different Playstyles
Not all Rags to Riches challenges are the same.
Minimalist Players
Focus on small, efficient layouts and subtle upgrades.
Family-Focused Players
Prioritize functional spaces and shared areas.
Storytelling Players
Use design changes to mark life milestones.
Making Progression Feel Rewarding
The emotional payoff comes from seeing how far your Sim has come.
Tips to enhance satisfaction:
- Take screenshots at each stage
- Keep early items as reminders
- Upgrade with intention
These habits make the journey memorable.
Final Thoughts
The Rags to Riches challenge is most enjoyable when house progression feels natural and earned. By upgrading slowly, prioritizing function, and letting the home evolve alongside your Sim’s story, you create a living space that reflects growth and achievement.
Whether your Sim ends with a modest family home or a refined countryside retreat, the true reward lies in the journey from nothing to stability. Thoughtful house progression turns the Rags to Riches challenge into one of the most immersive experiences The Sims 4 has to offer.