Building stairs is one of the first skills every player needs to learn in , yet it often becomes unexpectedly confusing for beginners. At first glance, placing a staircase seems like a simple click-and-drag action, but the game’s building system includes layers of logic that can make stairs behave unpredictably. Players frequently encounter issues such as “can’t intersect objects,” uneven terrain, or stairs refusing to connect between floors. These challenges are especially common after updates like the 2026 patch, which refined build mechanics and introduced subtle changes to placement rules. Understanding how stairs function will save you time, prevent frustration, and allow you to build more creative and functional homes. This guide explains everything step by step in a clear, beginner-friendly way while still giving you enough depth to improve your building skills.
Understanding How Stairs Work in Sims 4
Before placing your first staircase, it’s important to understand how the system actually works behind the scenes. Stairs in The Sims 4 are not just decorative objects but structural elements that connect different floor levels. This means the game calculates height, spacing, and collision with nearby objects every time you try to place them. If something blocks the path—even an invisible boundary—the stairs won’t be placed. Beginners often assume the issue is a bug, but in most cases, it’s the game enforcing building rules. Learning these rules early will make the entire process smoother and more predictable.
Another key concept is that stairs automatically adjust their length based on floor height. If your walls are set to medium or tall height, your staircase will become longer, which requires more space. This can create problems in smaller houses where room dimensions are limited. Additionally, stairs require a clear vertical path between floors, meaning nothing can be placed directly above or below them. Even ceiling decorations or platforms can interfere with placement. By understanding these mechanics, you’ll be able to troubleshoot most problems without guessing.
How to Place Your First Staircase
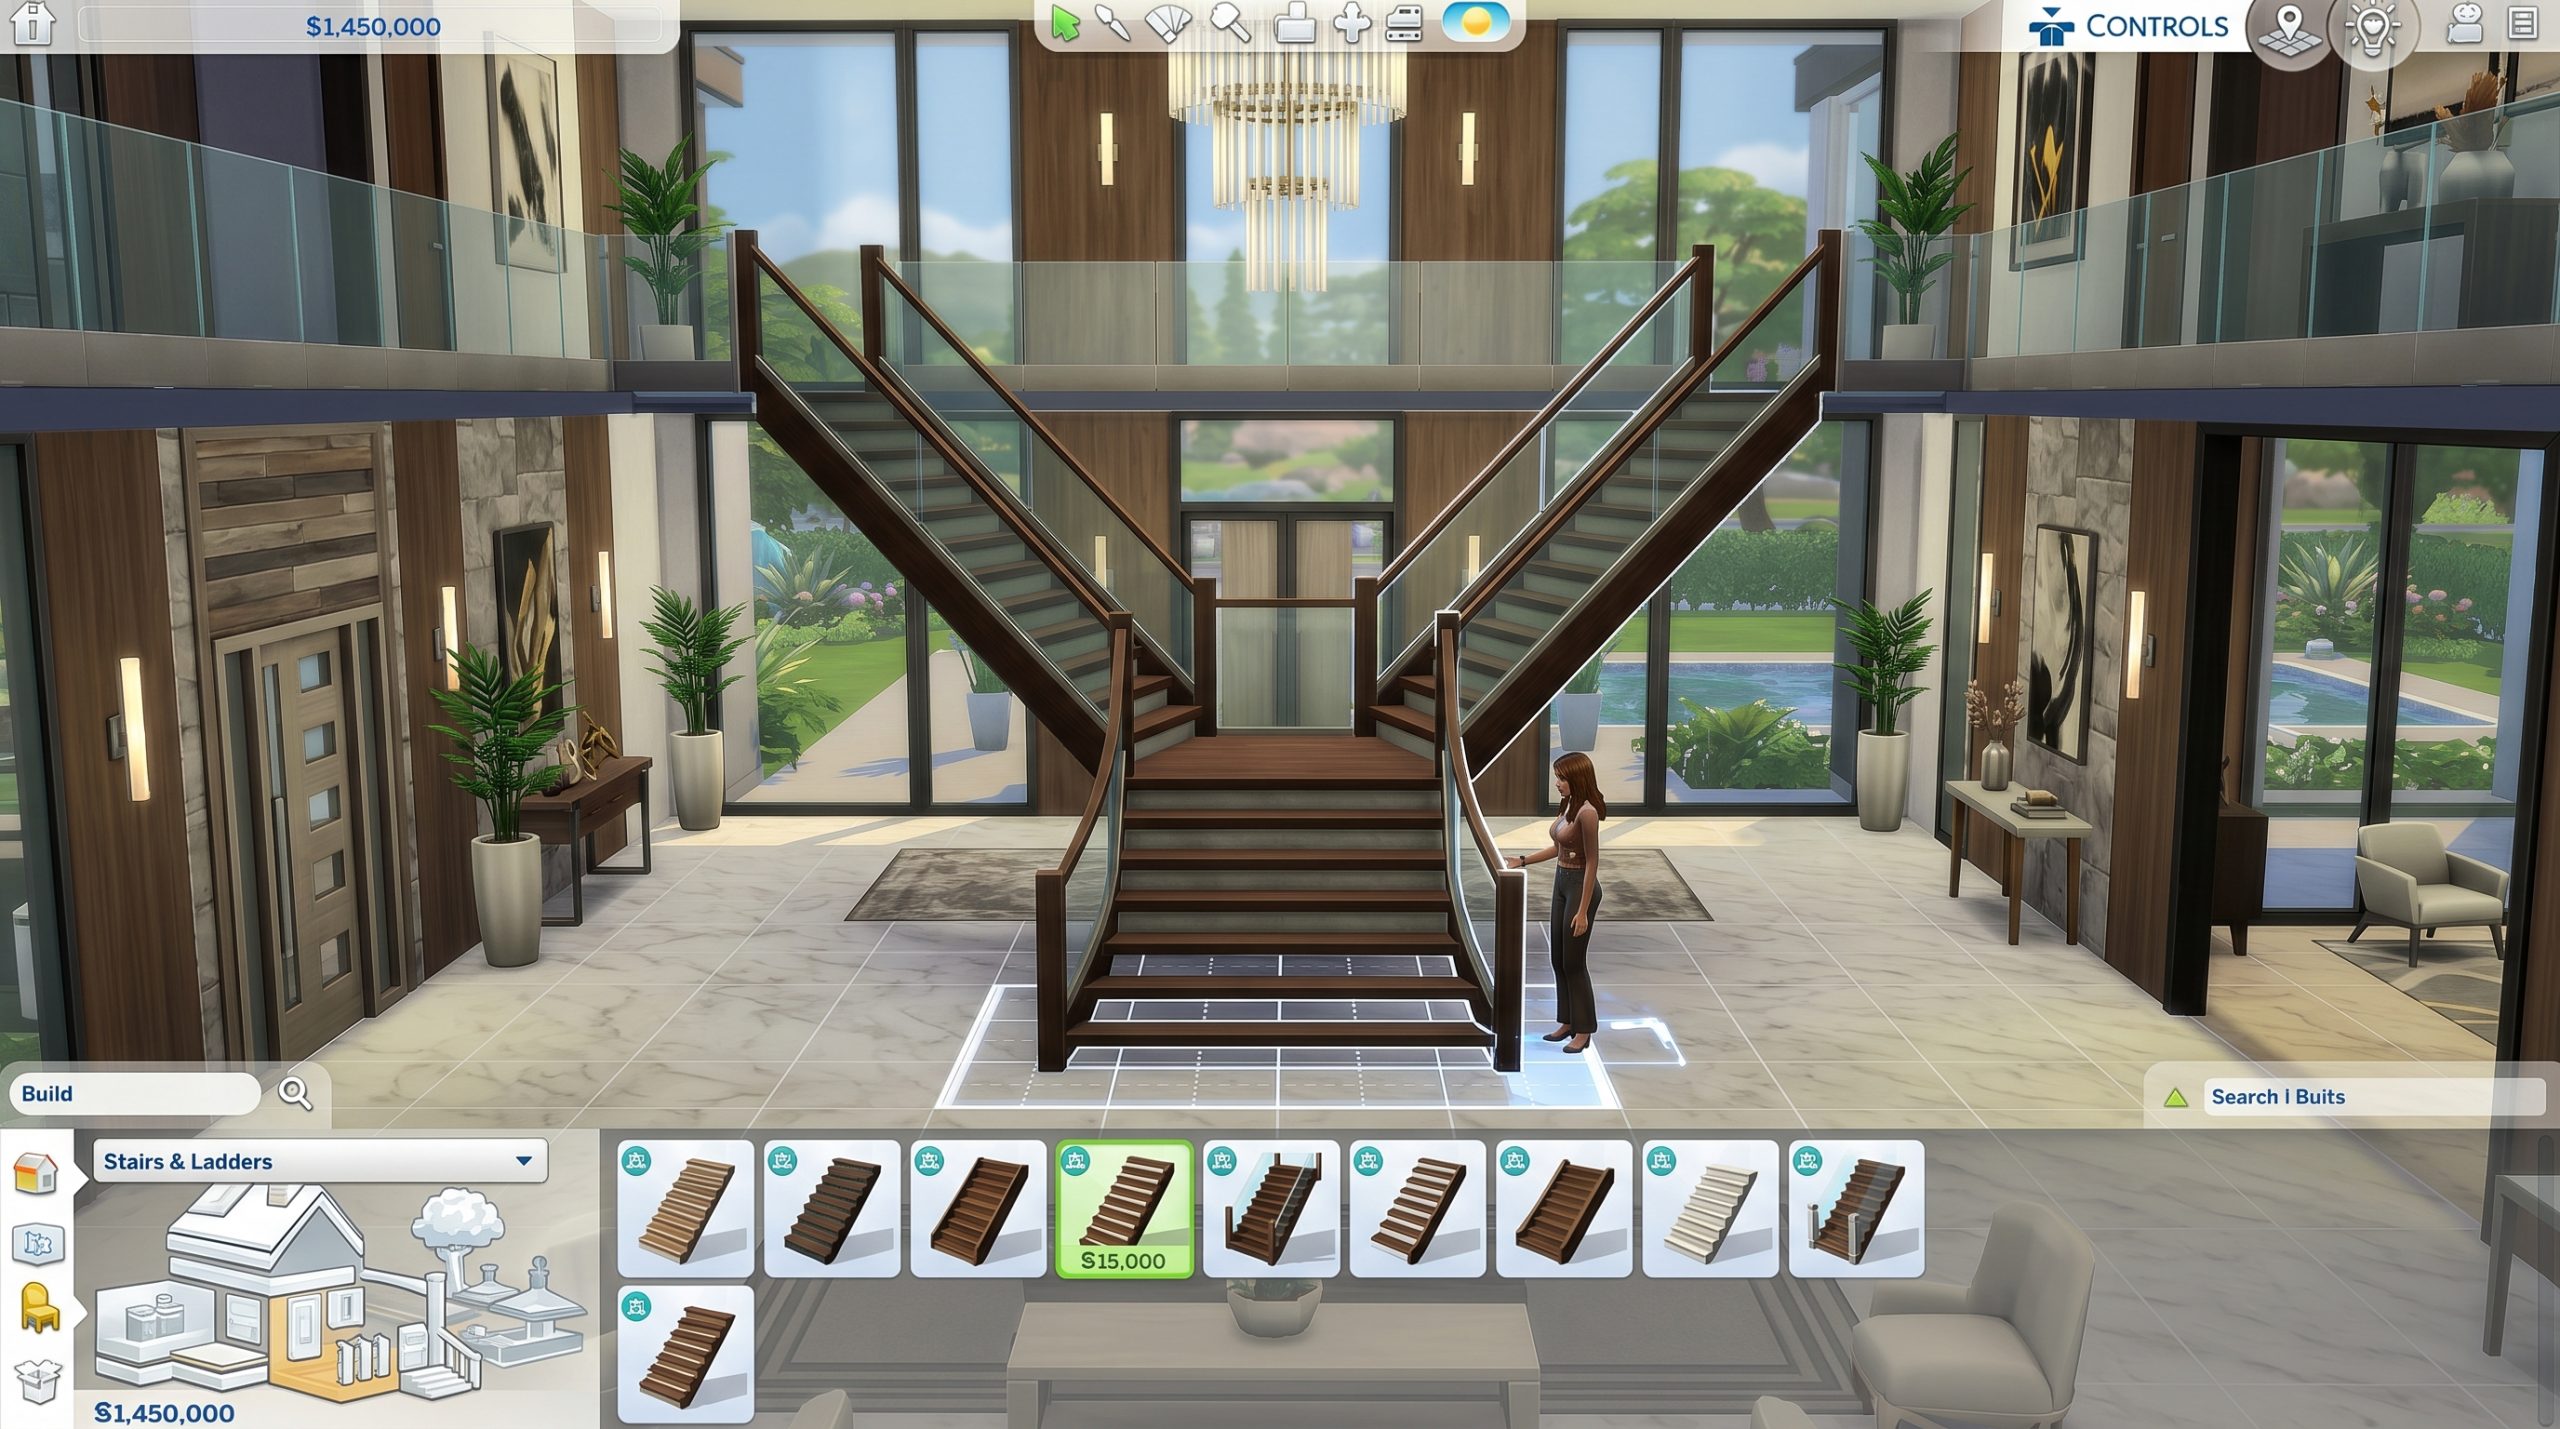
Placing stairs in The Sims 4 starts in Build Mode, where you’ll find the staircase tool in the structural category. Once selected, you can drag from the lower floor upward to automatically create a staircase. The game will preview the placement, showing whether it’s valid or blocked. If the preview turns red, it means something is preventing placement, and you’ll need to adjust your layout. Beginners should always start with a simple rectangular space to avoid unnecessary complications.
When placing your first staircase, try positioning it against a wall with plenty of open space. This reduces the chances of collisions and makes it easier to understand how the system reacts. After placement, you can rotate or move the stairs, but only within valid areas. If you attempt to place them too close to furniture or walls, the game will block the action. It’s a good idea to build stairs before decorating your house, as this gives you more flexibility. Once you’re comfortable, you can start integrating stairs into more complex layouts.
Choosing the Right Stair Style
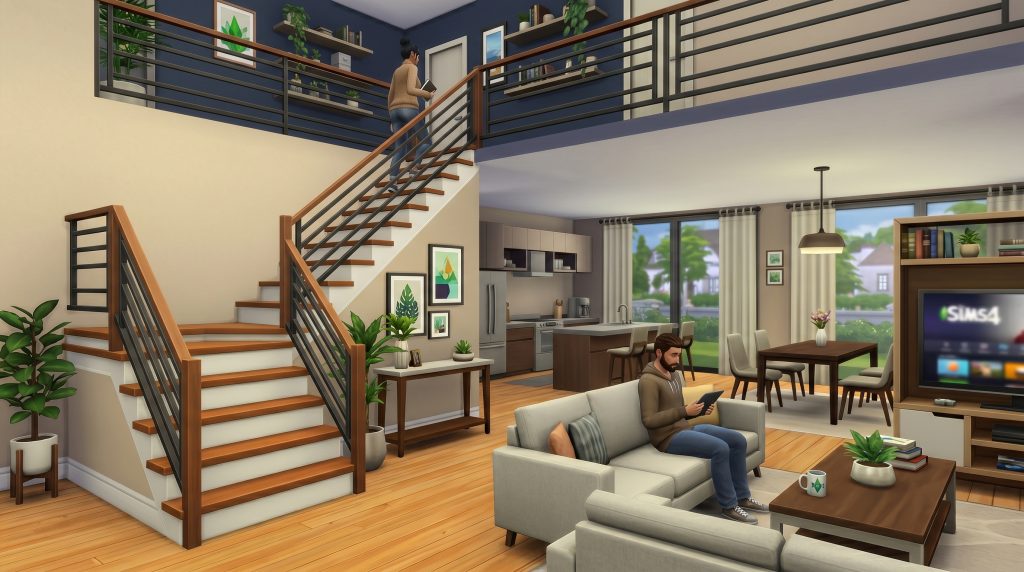
Stairs in come in a variety of styles, each suited to different types of builds. While beginners might focus only on functionality, the visual design of your staircase plays a big role in the overall look of your home. From modern minimalist designs to classic wooden staircases, each option adds a different aesthetic. Some stairs also include built-in railings, while others allow customization. Choosing the right style early helps create a cohesive interior design.
It’s also important to consider how the staircase fits within your available space. Wide staircases look impressive but require more room, while narrow ones are better for compact homes. Spiral stairs are not officially available in the base game, so you’ll need to work creatively with platforms if you want a similar effect. Many beginners make the mistake of selecting a style first and then trying to force it into their layout. Instead, plan your space first and choose a staircase that fits naturally. This approach leads to cleaner, more realistic builds.
Adjusting Stairs and Layout
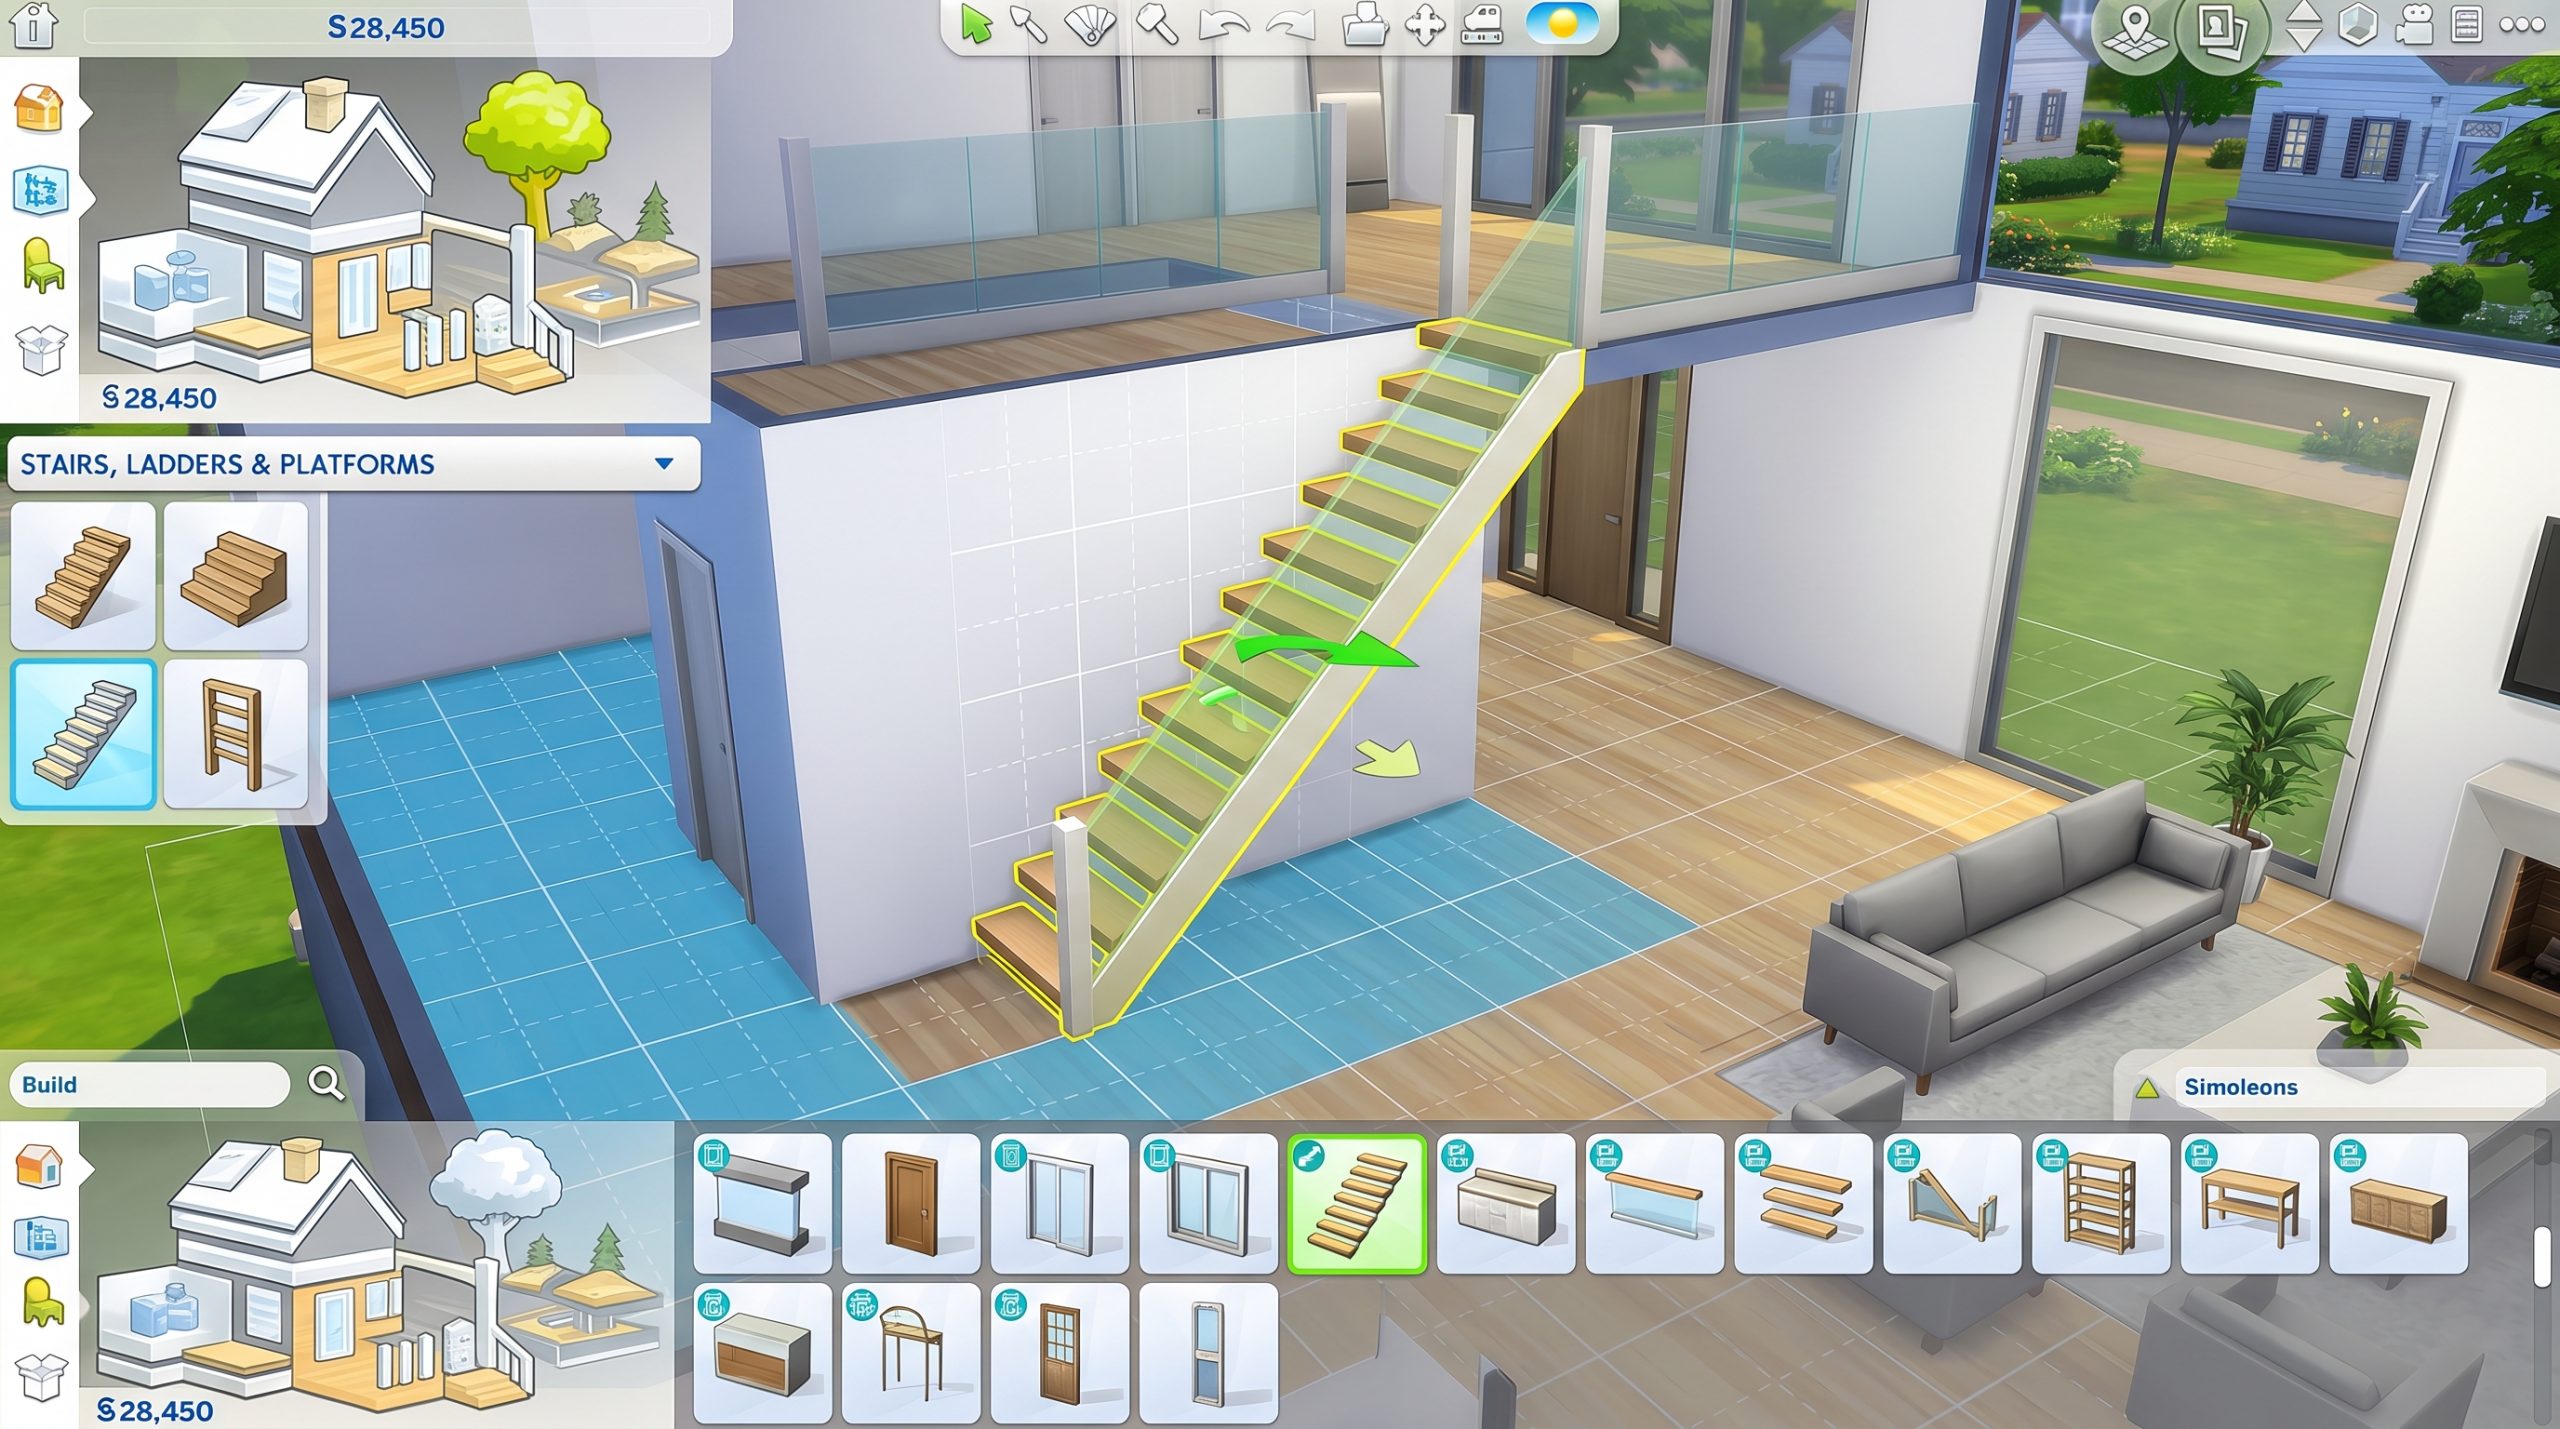
After placing your stairs, you’ll likely need to adjust their position and shape to match your house layout. The Sims 4 allows you to modify stairs by dragging their ends, changing direction, or adding turns. This flexibility is one of the most powerful aspects of the building system. You can create L-shaped or U-shaped staircases by combining sections, which is useful for saving space. However, each adjustment must still follow the game’s placement rules.
When modifying stairs, pay attention to how they interact with walls and floors. If a wall intersects with the staircase path, the game may remove part of the wall automatically. This can look strange if you’re not expecting it. You can fix this by manually adjusting the wall after placing the stairs. Platforms can also be used to create more advanced designs, but they require careful alignment. Beginners should experiment slowly to understand how each change affects the structure.
Common Problems and How to Fix Them
Many beginners run into issues when building stairs, and most of these problems come from spacing and collision rules. One of the most common errors is the “can’t intersect objects” message, which appears when something blocks the staircase path. This could be furniture, walls, or even objects on another floor. Removing nearby items usually solves the problem quickly. Another frequent issue is uneven terrain, which prevents stairs from aligning properly.
Sometimes stairs won’t connect between floors, even when everything looks correct. This often happens when floor heights don’t match or when platforms are misaligned. Adjusting the floor level or rebuilding the stairs usually fixes the issue. In rare cases, glitches may occur after updates, especially those released by . Restarting the game or repairing files can resolve these problems. Understanding the cause of each issue helps you fix it faster without frustration.
Using Platforms for Advanced Stair Designs
Platforms are one of the most useful tools for enhancing stair designs in The Sims 4. They allow you to create split-level homes, unique entryways, and more dynamic interiors. While they can seem intimidating at first, platforms are actually quite simple once you understand their behavior. You can raise or lower sections of a room to create visual depth. Stairs can then be connected to these platforms to form custom layouts.
Using platforms effectively requires careful planning, especially in smaller homes. Each platform adds complexity to your build, which increases the chances of placement conflicts. Beginners should start with small adjustments rather than large, dramatic changes. Over time, you’ll learn how to combine platforms and stairs seamlessly. This skill opens up a wide range of creative possibilities.
Designing Stairs for Small Houses
Building stairs in small houses presents unique challenges, as space is limited and every tile counts. In compact builds, you need to prioritize efficiency without sacrificing functionality. Narrow staircases are often the best choice, as they take up less room. Placing stairs along walls or in corners helps maximize usable space. This approach is commonly used in starter homes and tiny builds.
Another useful strategy is combining stairs with other elements, such as storage or decorative features. While The Sims 4 doesn’t fully support under-stair functionality, you can still use the space creatively. For example, placing shelves or small decorations nearby can make the area feel intentional. Planning your layout in advance is essential when working with limited space. This ensures that your staircase fits naturally into the design.
Tips for Better Building Workflow
Developing a smooth building workflow will make stair placement much easier over time. Start by building the basic structure of your house before adding details. This includes walls, floors, and stairs, which form the foundation of your design. Once these elements are in place, you can focus on decoration. This approach prevents conflicts and reduces the need for constant adjustments.
It’s also helpful to save your progress regularly, especially when experimenting with new layouts. If something goes wrong, you can easily revert to an earlier version. Practicing in a separate test lot can also improve your skills without risking your main builds. Over time, you’ll develop an intuitive understanding of how stairs behave. This makes the building process faster and more enjoyable.
Final Thoughts
Learning how to build stairs in is an essential skill that every player should master. While the system may seem complicated at first, it becomes much easier once you understand the underlying rules. By practicing placement, experimenting with layouts, and learning from common mistakes, you can quickly improve your building abilities. Stairs are more than just functional elements—they play a key role in the overall design of your home. With patience and practice, you’ll be able to create beautiful, efficient staircases in any type of build.